2001 3" Body Lift Install
Stage IV
2001 3" Body Lift Install
Stage IV
| |||||
Once both sides are completed, tighten all the bolts. Check the trans shift cable and attach it to as many clips as possible. I didn't put the break lines back in the clips that wear removed earlier. I simply left the brake lines where they were. Reattach the 4WD motor and make sure the wires are above the bottom of the frame rail and won't get snagged. 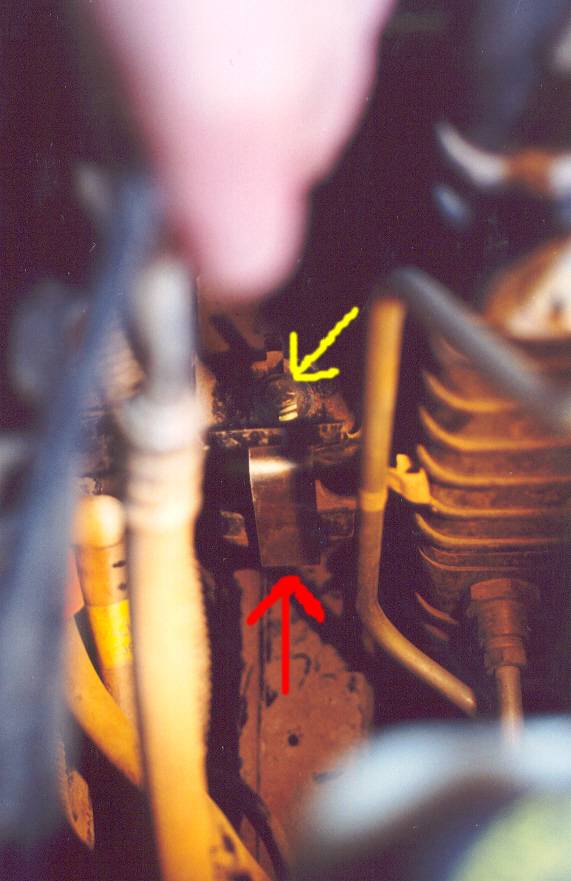 Get the stock rubber and place them on the drop brackets inserting the nipple into the hole in the bracket. Slide them onto the lower core mounts and check for alignment with the stock holes. The red arrow points to the bracket and the yellow is the supplied bolt and washer. I had to drill out the stock core seats with a 1/2" drill bit to make it easier to fit the bracket with the supplied bolt. | ||||
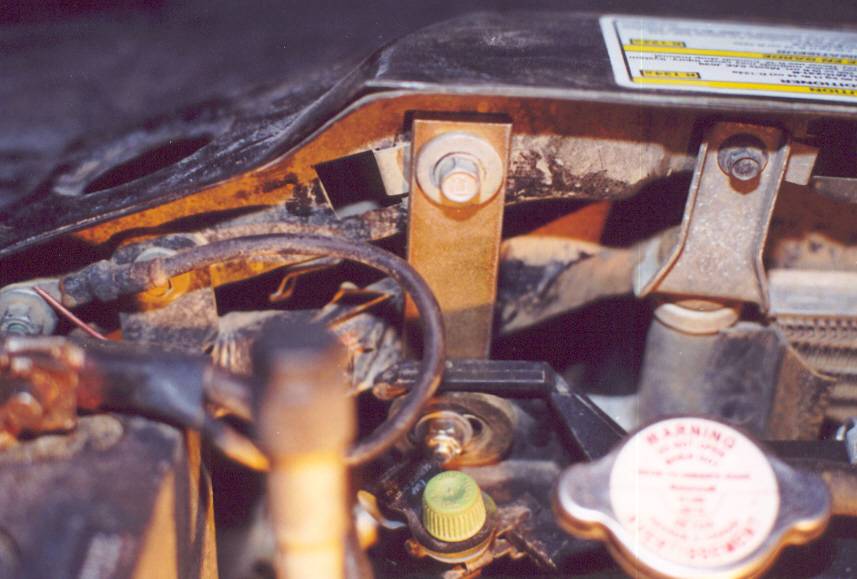 Take the two 3" drop brackets from before and mount them to the core and the radiator mounts. Do not tighten yet. Make sure there is even space around the fan. Tighten the brackets when it's centered. Check to see if there is an A/C hose rubbing on the bottom of the alternator. If it is, insulate the line with the hose provided. Install the intake hose and reconnect the MAP sensor. If you want to, you can mess with the fuel filler and breather lines, but it's not really needed. They are long enough.
| ||||