Start with the passenger side and remove the body mount bolts. This is where the propane torch comes in handy. The bolts are secured with a threadlock and you'll be there for ever trying to get those bolts out.
Heat the bolt from underneath for about 1 minute. This will release the threadlock and you can take those bolts out in no time. This will also prevent the bushing nuts from loosening up and spinning. If for some reason they do, use the vicegrips to hold them. If a bushing nut falls out, wrap electical tape around it a few times and hammer it in. It's helps if you are alone.
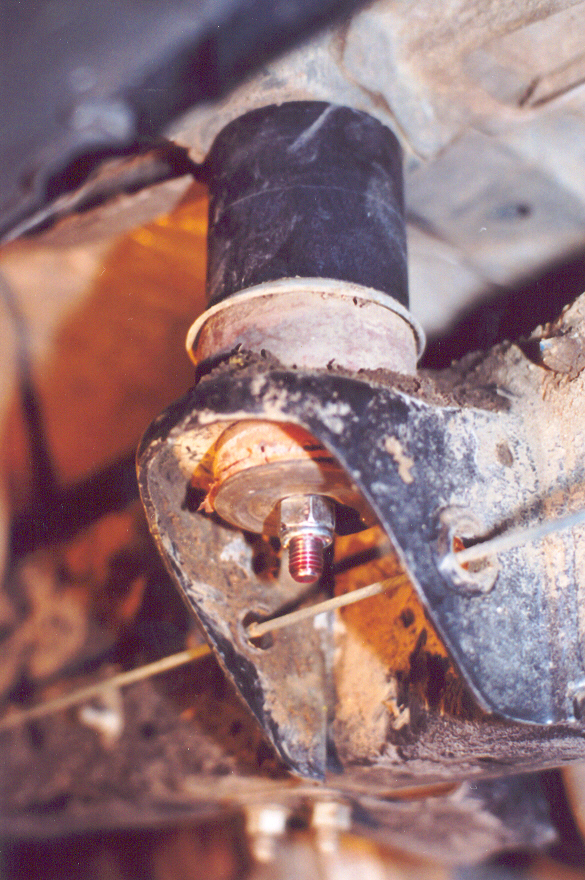
Once all the bolts are removed, lift the body somewhere in the middle. Use those blocks if your jack is not tall enough. Jack slowly and repeatedly check for binding lines or wires while jacking the body. The 3 inch lift blocks just sqeeze in. At about 3 inches the body will begin to lift the entire vehicle. Only jack the vehicle enough to get the blocks in. If some are tight, tap them in with a hammer. I started with the core block. The core block is a through bolt. Take off the threaded bushing nut from the bottom of the frame rail. Hold with your vice grips or vice and drill out the entire nut with the 1/2 inch drill bit. Use 3-in-1 oil to ease the process. Once that is complete use the 180mm bolt with the stock washers and nut to secure the block.
The bolt for the front of the cab is the 140mm bolt. The kit did not have the right length bolt for the mount behind the seat so I had to drill all the way through with the 1/2" bit and istalled the 160mm bolt. The last two in the cargo compartment are 180mm bolts. Use the supplied washers and ThreadLock.
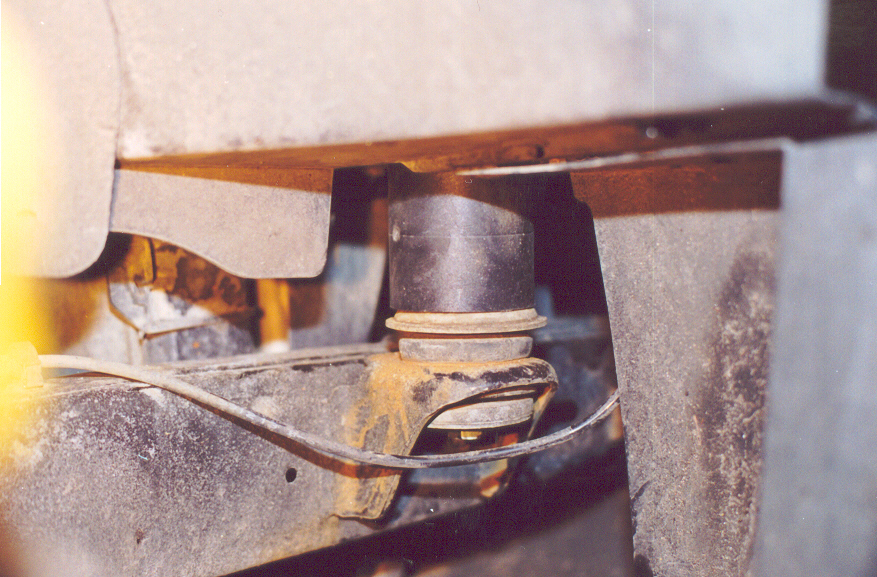
Above is the core mount.
I didn't eamove any of the parking brake cables. The install instructions don't call for it. The operation of the parking brake is normal and I don't belive you'll have a problem. Keep an eye on your's.
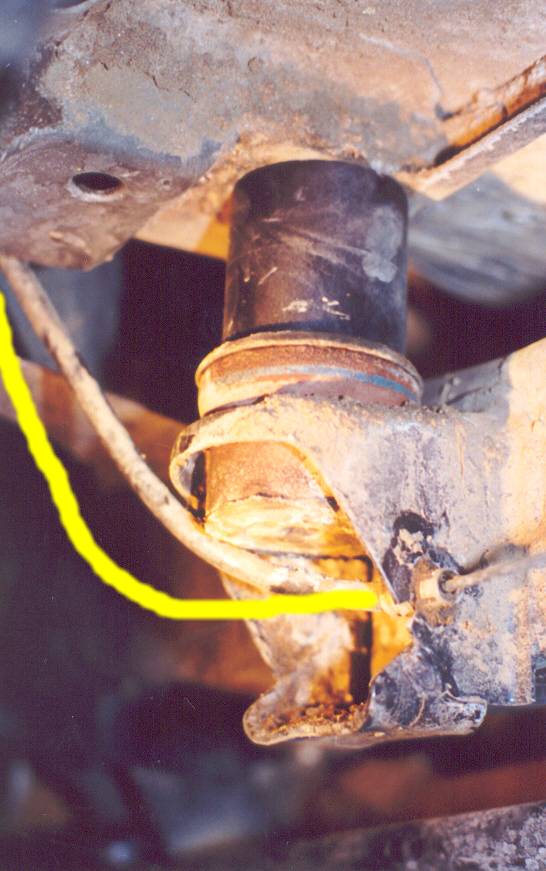
The yellow line is the stock position of the cable.
Repeat these steps for the drivers side, taking care to watch for binding lines and wires.